10 Tips for Braille Display Users of iOS Devices in 2025 – Part 1
HKNC's Technology Research and Innovation Center presents essential tips for braille display users of iOS devices.
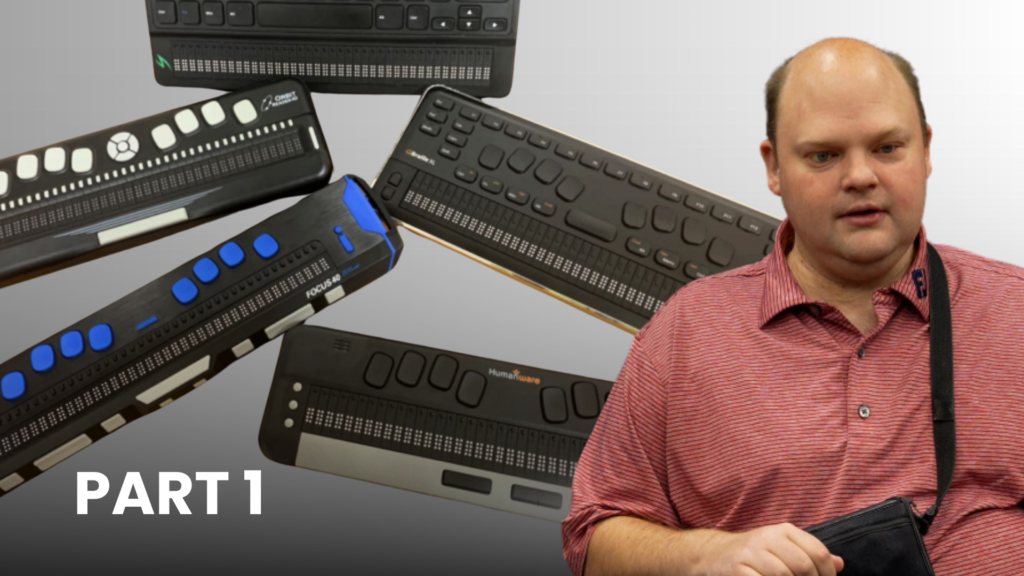
By Scott Davert
February 21, 2025
Introduction
The digital landscape is full of articles offering insights into various technologies, including iOS devices. Tips on lesser-known features for major operating systems are also widely available for various types of users. To further enrich this body of literature, I have compiled 10 useful tips for braille display users of the iPhone and iPad. This article aims to provide those who are both new, and more advanced braille users, with some new and helpful tidbits of information. These recommendations are drawn from my personal experience as a braille user of iOS devices and my professional work with other braille users.
Improving The Bluetooth Connection
If Bluetooth is enabled, each time you press the Power button on your iOS device, it will search for other Bluetooth devices it can connect to. This includes braille displays that have already been paired. So, to have a greater chance of getting your iOS device and braille display to start communicating immediately, it is a good idea to have your braille display on and in Discoverable or Terminal mode before unlocking your iOS device. As long as the two have been previously paired, and that braille display is the chosen one in VoiceOver, the pairing process should commence very quickly. It is true that you can sometimes get the braille display to connect while turning it on with your iOS device already unlocked, but this will not always be successful. You can also enable Bluetooth on Start Up, which will start Bluetooth each time VoiceOver is enabled. To do so, head to Settings>Accessibility>Braille>Enable Bluetooth on Start and turn it on.
Plug and Play
With VoiceOver enabled, it is also possible to connect some braille displays directly to phones which have a USB-C port. I have successfully connected the Brailliant, Chameleon, Mantis Q40, and Activator through USB-C. I was not able to get the Orbit Reader or the Focus displays to work on iOS with USB-C.
Quickly Launching Apps
It can be annoying sometimes to be searching your Home screens for a specific app. Starting with iOS 17, braille display users can press Enter, or Dot 8, from their home screen. When this happens, you will find a blank space to type. Then, type the first few letters of the app you are looking for followed by pressing Enter, or Dot 8 depending on your keyboard, and you should find the first result of your search listed between two 8-dot full cells. You can press Space with dot 1 or space with dot 4 to move between the results, and press Enter to launch the app.
It’s Like Having a QWERTY Keyboard
There are times when there are Bluetooth keyboard commands available that are not part of the braille keyboard experience. Since so many Bluetooth keyboard commands are tied to a specific type of keyboard combination, it is also possible to emulate many of these commands on a braille display with a Perkins-Style keyboard. For example, Command with the letter N in the Notes and Mail apps will start a new note or message. If you are quick, you can perform the command key emulation followed quickly by the letter N to do this. The following keyboard keys can be pressed, even in combination, to perform Bluetooth keyboard presses.
Space with dots 1-7: Command.
Space with 2-7: Option
Space with 3-7: Control
Space with 4-7: Shift
Space with 5-7: FN
If you find that you are not able to do these commands fast enough, you can also simulate the pressing and holding of the above keyboard shortcuts. Instead of using dot 7 as noted above, you would use dot 8. For example, pressing space with dots 1-8 would toggle on the command key. Of course, you will need to toggle the key off again before proceeding, or you may find odd things happening, since iOS thinks you are still holding down the Command key.
Here and Gone in a Flash
Flash messages only stay on a braille display for so long. Fortunately, you can read it again if you didn’t catch it the first time. To do so, press Space with N and you can then review a history of the last few things VoiceOver sent to the braille display at your own pace. To go to the previous item, press space with dot 1, and press space with dot 4 to advance through the history. When you’re done reviewing these messages, press space with N again to return to wherever you were in iOS. It is also possible to configure how long the flash messages will stay on the braille display. This can be configured by visiting Settings>Accessibility>VoiceOver>Braille>Braille Alert Messages. They can be turned off altogether, or there is an option to have the message stay on the display until dismissed.
What’s This Button Do?
While most modern day braille displays have a Perkins style keyboard and cursor router buttons, they also have some buttons which make them unique. They are configured to help make your life easier in various ways. For example, they may scroll in a certain direction and be located in such a way that you can operate them while not having to take your hands off of the display. While the manual, or the various commands listed on apple.com are great, it’s not always convenient to pull up such a list. Fortunately, iOS has you covered. From anywhere in iOS, press space with K to activate VoiceOver help. On a QWERTY keyboard, press VO with K. This will allow you to not only press buttons and keyboard combinations to find out what they do but will also let you practice gestures and keyboard commands. These are messages that flash up, so press space with N like I wrote earlier if you miss them the first time. To exit keyboard help, press space with B, or the Escape key, to activate the back button. You will be returned to where you were before entering this mode. Note that when there is no message flashing up, the braille display will still show the last thing that was on it before you entered keyboard help. This is a known
bug that has been reported.
Sometimes Braille is too Verbose
There are many settings which impact braille output that are found in other parts of iOS. One example is the menu found in Settings>Accessibility>VoiceOver>Verbosity. This menu is where you can turn off hints which may not be relevant to you as a braille user. For example, “double tap to open” doesn’t apply to a braille user and may get in your way. Disabling “speak hints” will remove the hints that only apply to the touchscreen. Under System Notifications, there is an option which can deliver the notifications that come in as flash messages. There are also options to configure QuickNav notifications, notifications about links, the presence of actions in the actions rotor, and many more.
Saving Battery Life
VoiceOver has a function which allows you to make your screen dark called Screen Curtain. It can be activated by pressing space with 1-2-3-4-5-6, or VO Shift S. While logic may dictate that using the Screen Curtain will help save battery, since it makes the screen go dark, this is not true. The screen Curtain is, quite literally, a curtain that goes over your screen and is a VoiceOver specific function. You can verify this by turning your screen brightness up to 100 percent while the Screen Curtain is enabled and watching your battery do a downward spiral. You can also feel heat around the edges of the screen after using your device with the brightness set this high after several minutes. Instead, you may have guessed it, set your screen brightness to 0 percent. To do so, go to Settings>Display & Brightness. I’ve also found that turning the automatic toggle to off helps brightness stay at 0 percent.
Find it Quickly
When on a cluttered web page or a large document, scrolling by line or word can get very cumbersome. Thankfully, VoiceOver has many ways to support users in dealing with this. One such way is with the find feature. Most times, you can find what you are looking for by pressing space with f, or VO with F if on a QWERTY keyboard. You can then type a string of text, followed by enter or dot 8 and VoiceOver will often take you to that point if it is found. For example, I’ve found that if you are looking for something in a list, VoiceOver finds it more reliably when you have focus set to the top of that list, instead of at the top of the screen. To find the same text string again, you will need to set up a keyboard shortcut for this. It will be a tip featured as part of the next article which will feature 10 additional tips… Stay tuned!